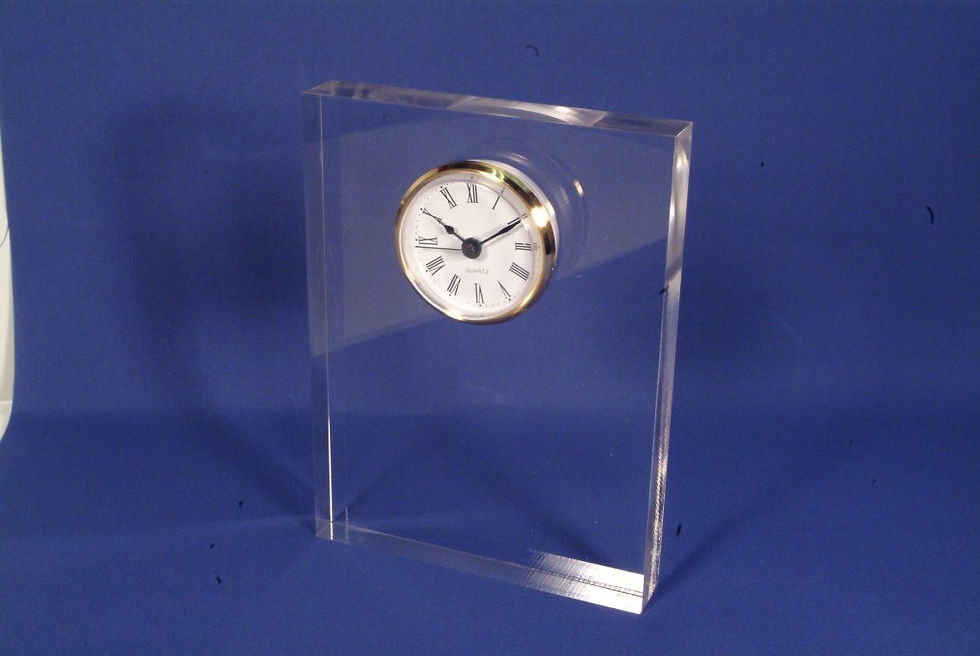


CNC MACHINED ACRYLIC CLOCKS
Acrylic clocks
We designed a range of acrylic clocks for an online shop with the sole purpose of them being customized either with a printed image or engraved text , each clock was designed to specific measurements via composer ( a vector drawing program) once we created the basic outline of the clock we added in a circle for the clock mechanism which would be recessed out to house the mechanism, after each design was finished and approved it was saved to the customers folder and exported as an A.I file (Adobe Illustrator ) for the CNC work .

CNC Routering of the clock blanks
The next step was to start the CNC Router work, We use Artcam for our Cam program (Computer Aided Manufacture) basically this is the software that’s drives the CNC machines, in this program you tell the CNC Router what you want it to do this is called a tool path, once you create your tool paths you download this code to the CNC router it will then read your code and then go and cut what you have told it to do that is the basics of the CAM prograM
Set up
We took a block a of 20mm clear acrylic measured its size and entered this into the CAM software as our material size, we then placed this material stock on the cnc router and checked the work hold down ( how well it was held on the cnc machine ) this is majorly important in cnc routering as the better the hold down the better machine finish you can achieve, if the material is not held down enough it can move under machining destroying the material your tools and your customers components this is something a lot of other suppliers over look but this makes a massive different in component quality so double check hold down use screws or nails if vacuum pressure is not enough on the router to secure the material
Next step was to nest the correct amount of clock blanks ( nesting means moving and rotating components until we get the most amount or best yield out of that particular piece of material ) once all the blanks where nested it’s time to add your tool paths we started of by machining the recess ( pocket of material not cut right through) we cut it down 15mm from the surface leaving 5mm on the back we checked mechanism for fitting making sure it was a good push fit once we were happy with the fitment of the mechanism we machined all the other recesses in one operation after the mechanism recess was complete it was time to machine the outline of each clock , we do this with a profile cut command ( profile command cuts to the outside or inside of the vector line) as the material is 20mm thick and made from solid acrylic its best to cut it twice once for a roughing pass removing most of the material and then a final polishing cut which is a final skim around the component to give it a really nice smooth and super clean finish , we change tools for the polishing cut to get the highest quality of edge finish , the better the edge finish of the cnc router the less time will be need in the final polishing stage. How all the banks have been cut they are measured and inspected for quality control once we are happy with them they go onto the final polishing stage.
Polishing Acrylic
The polishing of the acrylic clocks can be done in 4 methods
-
Flame polishing
-
Vapour polishing
-
Buffing
-
Diamond polishing
We use the flame polishing method here for these clocks as the edge we achieve of the cnc router is absolutely excellent its about 75% optically clear so it takes very little to get them perfectly clear plus this method is cheap and works well for thick acrylic and odd shapes so flame polishing works very well in this situation
After the clocks have been polished they are checked again for quality once we are happy with everything we install the mechanism and wrap them up for delivery to the customer.


